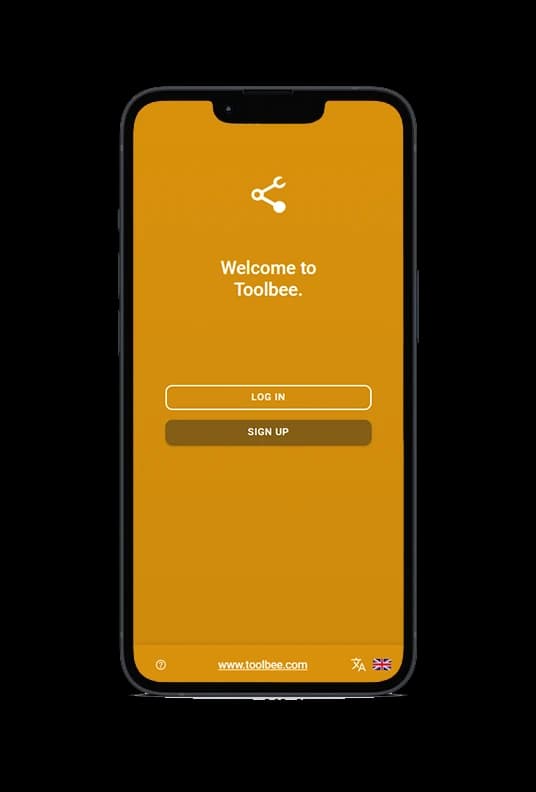
Download Toolbee
We have an application for both Android- and iOS available in their respective app store. You can use both phone and tablet/iPad with our application.


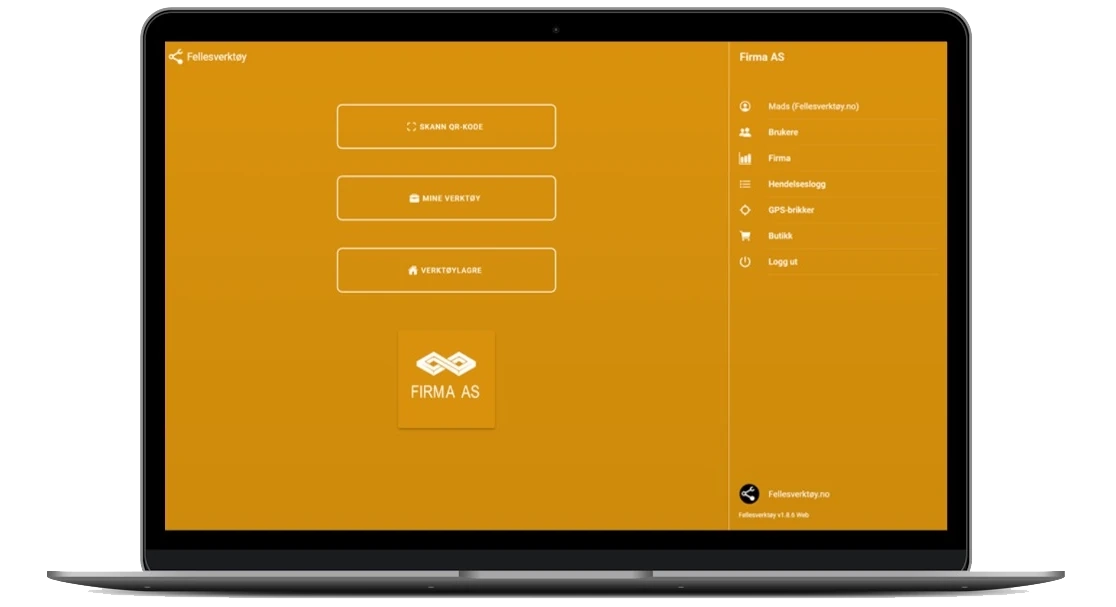
Or use the WEB version
An alternative on PC is to use the web version. You can use the same email as on your mobile. All the places you log in to are synchronized with each other all the time.
[* Note that the web version does not support scanning the QR code on tools without a barcode scanner connected, and may have limited support for GPS/location services and similar things. We strongly recommend installing the app from the app stores if you are on a mobile device]

Log in and create your company / department
Log in with your company email (@companyname.no). If you log in with your company email, other users with the same email domain will automatically appear in the same company as you when they log in. You can choose to log in by receiving a login link via email, or using a password.
(If you don't have your own company email domain, you can also log in with another email, such as for example (@gmail.com). But then other users in the company must be invited manually from the user page.)
After logging in, you can enter your phone number in your personal settings and change your name. This is so other users know who you are and can call you via the shortcut in the app if you have a tool they want later. The delivery address is important if you order something in the store, such as a label printer or vinyl tape roll.
After this you will be able to create a company. Enter the information you have available, you can always enter the remaining information later. The organization number is important so that we can send the invoice to the correct company (by agreement of course).
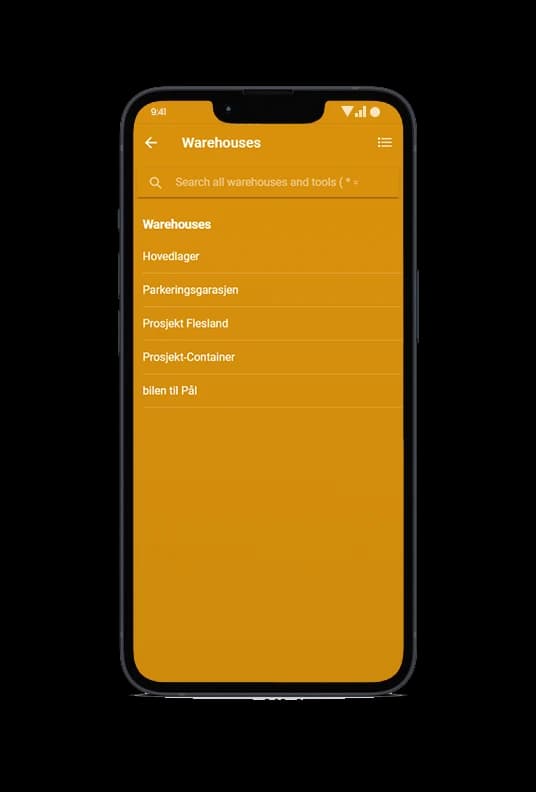
Create warehouse and tools
Furthermore, just click on WAREHOUSES in the main menu to create your warehouse. A warehouse is a location where you have tools, it can be a room in the office, the garage next to the office, a container or a shared car. Here it is up to you how you want to set up the app so that it suits you best.
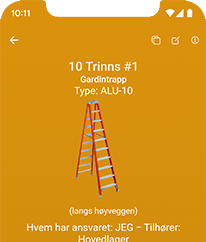
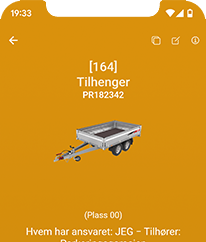
Then click on the warehouse you created and in here you can then click on + in the right corner to create a tool in this warehouse. Enter the information you have available about the tool: such as name, image, note, tool id, etc. then click save and you have now created your first tool!
After this you can continue to enter all your tools manually or import them. You can read here to see how to import tools from an excel sheet or other list if you have it available or from a previous system:
How to import tools into Toolbee
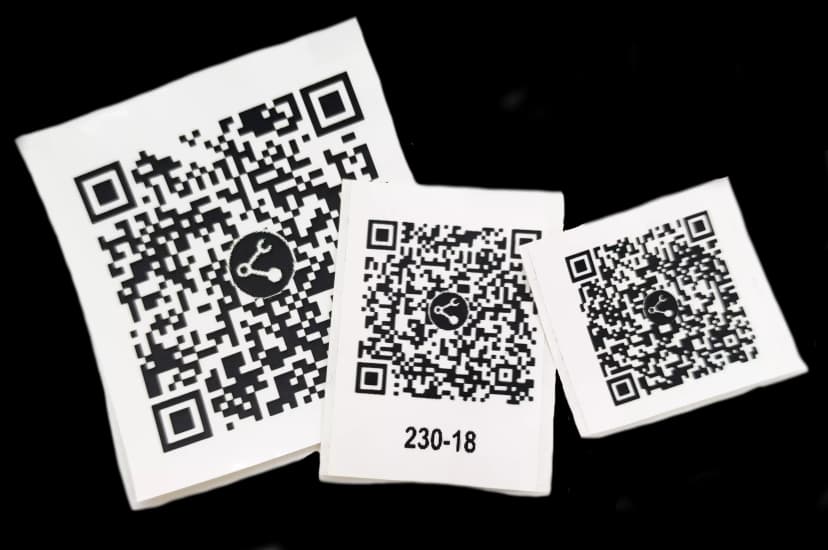
Printing QR Codes
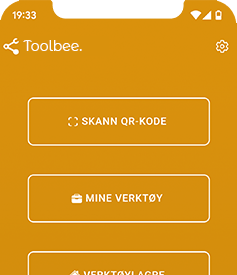
When you create a tool, a QR code will automatically be generated that redirects to that tool. Users can then simply scan the QR code on the toolbox, for example, and it will take them straight to the correct tool in the app. (This is of course optional but saves time)
These are easily printed from either the web version of Toolbee or the mobile app. There are several options here when it comes to these labels.
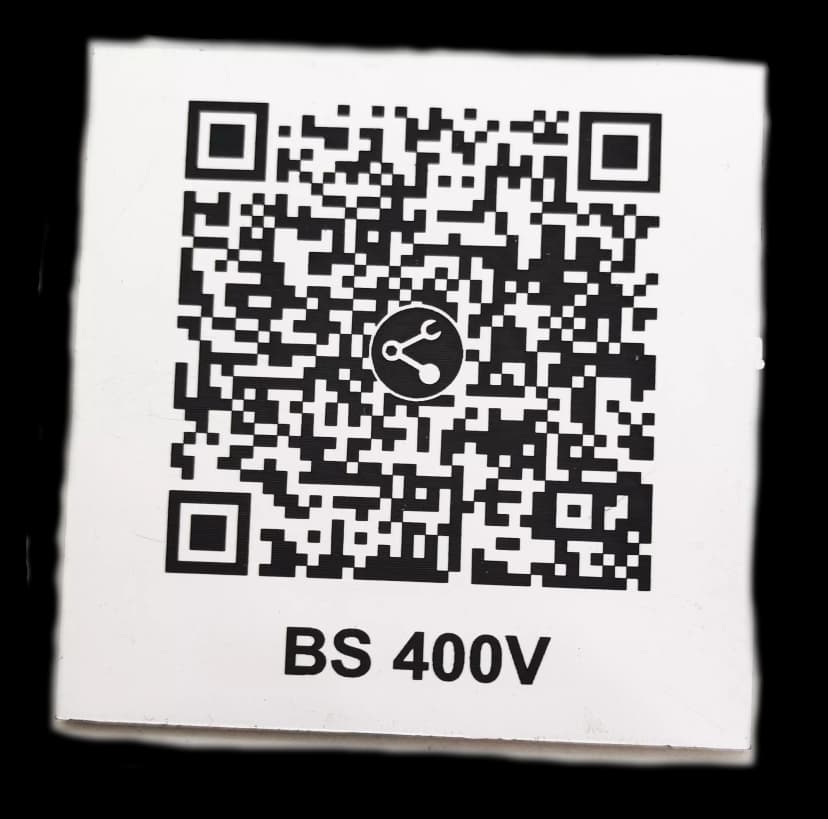
- 29mm vinyl-tape (ca 400 labels) Recommended
- 62mm vinyl-tape (for slightly larger tools, cabinets and the like)
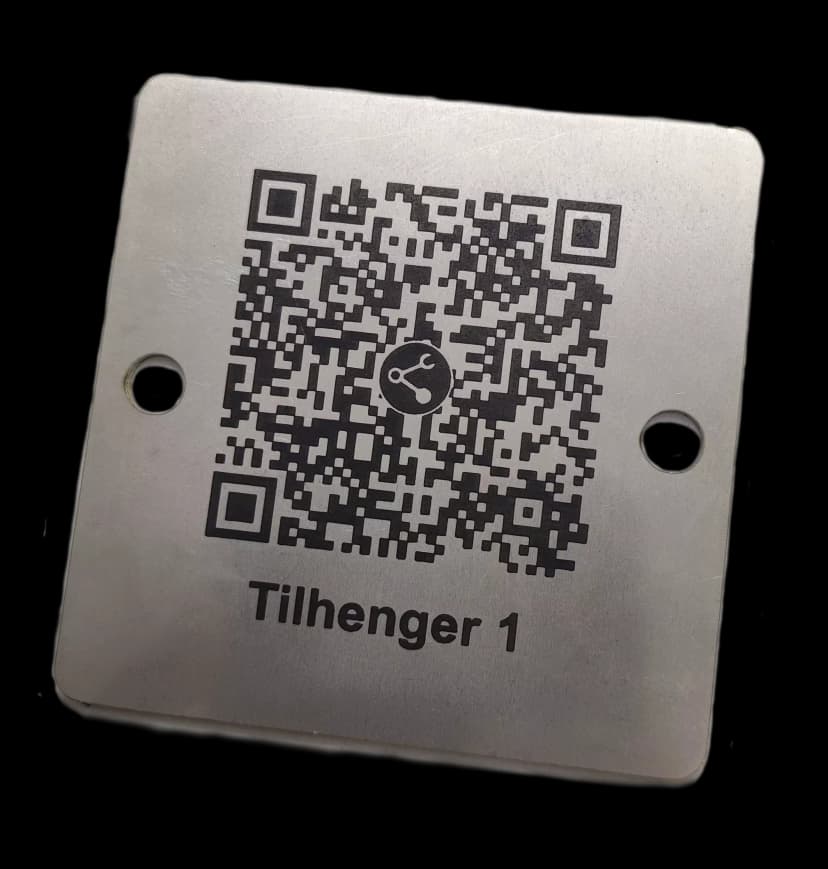
If you have any tools that are exposed to weather and water, it is possible to order per tool:
- Laser-engraved Hard Plastic Sign (50x50mm)
- Laser-Engraved Stainless Steel Sign (50x50mm)
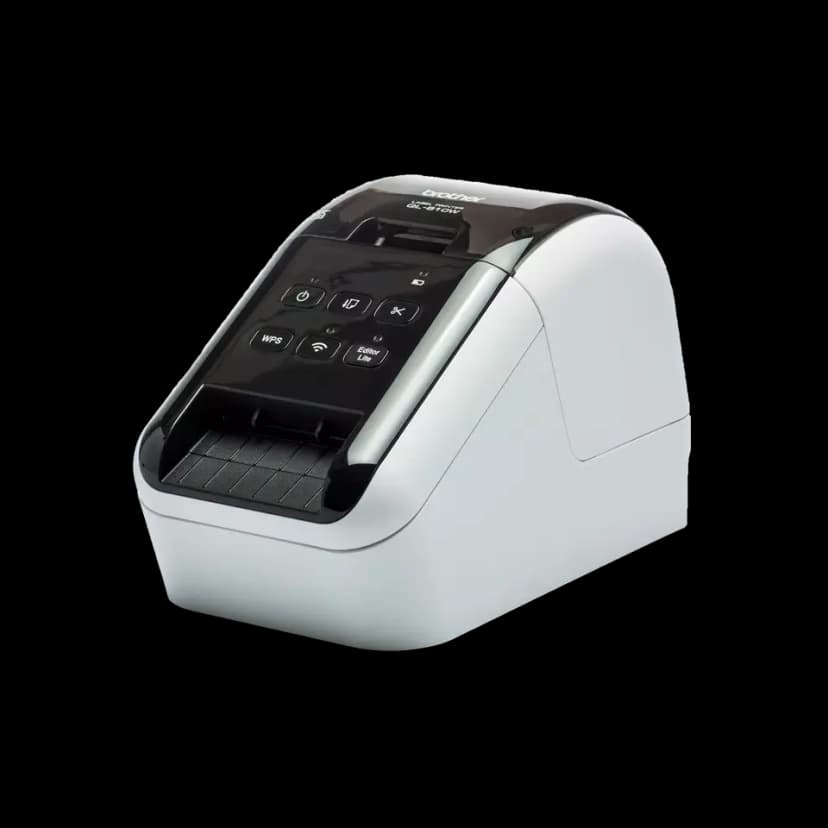
If you already have a label printer, you can most likely use it, if not, you can order one through the app. This is a quality printer from the brand Brother (QL820W).
The user guide for this can be found here.
Invite users and get started
As mentioned earlier, users with the same company domain on their email as you who created the company will automatically appear in your company when they log in to the app. This way, you can mention that you have implemented a new system for your employees and attach a link(s) to download and possibly a link to the user manual for how to use the app if desired. This can be sent by email to the employees or mentioned at a meeting or similar. This is entirely up to you how you want to do it.
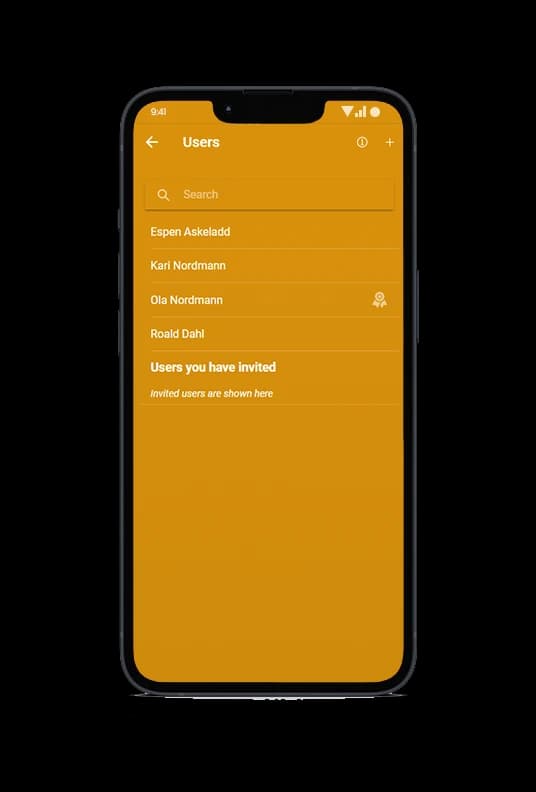
If you do not have a company domain on your emails, users can be invited from the user list in the menu. Here, you just need to enter their email address and click invite. But it is a good idea to give them a message in advance so they know what the email is about so it is not seen as spam. Unfortunately, this email can also end up in the user's spam folder, so we recommend, as written above, letting users log in themselves.
Then all you have to do is get started and get comfortable with the app!
Here is an example of an email you can send out to your users
User manual: How to use the app